


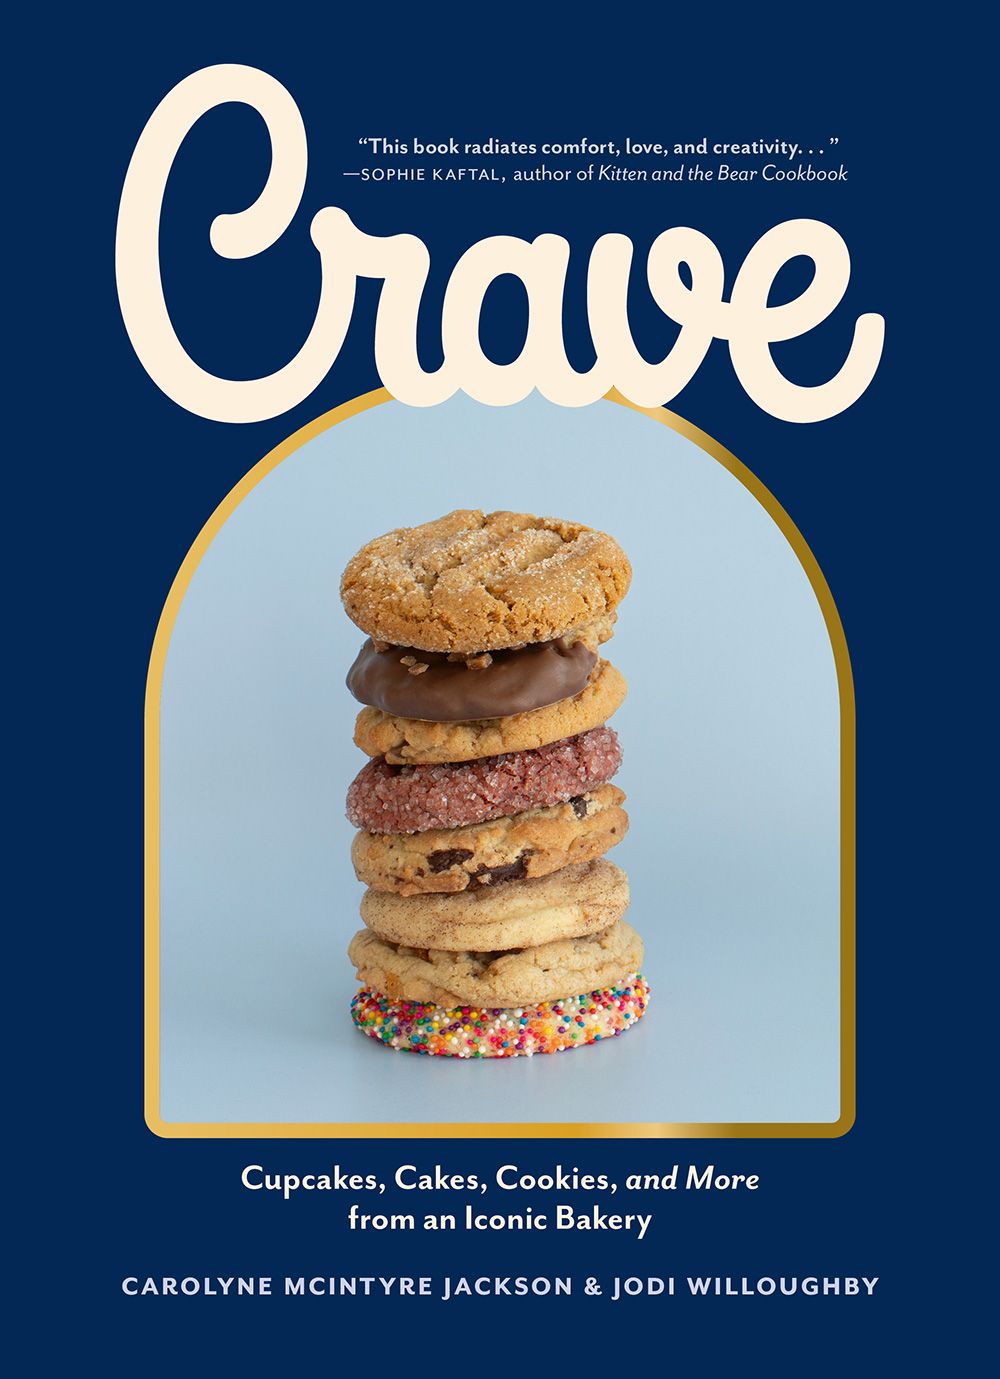
The cookbook we’re featuring this week is
Crave
By Calgary-based siblings Carolyne McIntyre Jackson and Jodi Willoughby, who together established the Prairie-themed bakery known under the same name.
Jump to the recipes:
raspberry crumb loaf
,
oatmeal with milk chocolate and toffee cookies
and
vanilla sheet cake
with strawberry buttercream frosting.
Carolyne McIntyre Jackson and Jodi Willoughby have collaborated professionally for two decades, yet their bond as siblings and confidantes spans half a century. “People often remark, ‘It’s amazing how well you manage to work alongside each other,'” explains Willoughby. “‘But growing up on a farm, our options were limited—we either got along or found ourselves without anyone else to keep us company.’ We simply hold immense admiration and appreciation for one another which helps everything function smoothly.”
Upon completing their studies in food business management and community rehabilitation, McIntyre Jackson and Willoughby established the inaugural
Crave
In 2004, they operated a bakery in Calgary. Currently, they have expanded to include four outlets in Calgary, along with individual stores in Edmonton and Saskatoon. Additionally, they plan to open their seventh location in Kelowna in June, marking their first new store in 12 years.
We often mention that we took a deliberate break while raising our three children,” explains McIntyre Jackson. (She has one child, and Willoughby has two.) With their offspring now adults, the siblings are transitioning into their “less hands-on” parenting stage. “Now we have more freedom to be spontaneous.
McIntyre Jackson along with Willoughby launched Crave using a collection of cherished family recipes, featuring their grandmother’s chocolate cake and their mother’s buttercream frosting.
vanilla cake
In their first cookbook, which shares the same title, they present over 70 recipes that have been crafted throughout Crave’s 20-year history, including some recipes that have never been published before.
buttercream frosting
That has earned them numerous dedicated followers.
There has been considerable speculation regarding a mysterious component in their buttercream, often referred to as their “secret weapon.” McIntyre Jackson insists that their recipe contains no hidden elements. The basic vanilla variant requires only four components: confectioners’ sugar, heavy cream, butter, and vanilla extract. She believes it’s the salted Calgary-produced butter that sets them apart.
Foothills Creamery
The butter they’ve been using since the beginning that makes their frosting distinctive.)
Starting the book with practical guides, like frosting a double-decker cake and coating biscuits, along with do-it-yourself staple ingredients—such as ganache and custard—they then dive into 12 of Crave’s renowned buttercream frostings. These recipes allow readers to customize their creations by tweaking the sweetness level, incorporating color, or experimenting with various flavors and additions.
Among the perfectly swirled buttercreams, brightly colored sprinkles, cupcakes, cakes, and cookies, one of the book’s full-page photographs captures a collage of their family’s handwritten recipes spread across the page. McIntyre Jackson emphasizes how crucial it was to include this image. Growing up on a farm just south of High River in Alberta, they were surrounded by the delicious creations from their grandmothers, aunts, and mother.
McIntyre Jackson began his baking journey at a young age alongside his mother, Helen McIntyre. “While Jodi and our younger sibling were typically found outdoors, riding horses and working with the cattle with Dad, which wasn’t quite my thing, I have always had a knack for baking,” he recalls. He fondly remembers perching on a small brown stool at just seven years old, meticulously crafting shortbread by hand. Baking has consistently been an enduring love of his.
Upon completing his degree at university and securing employment with Safeway’s manufacturing unit, McIntyre Jackson approached Willoughby—a director of clinical services who worked closely with youngsters from precarious family environments—and enquired whether she might be interested in partnering to establish a bakery. Though lacking experience in baking, Willoughby compensated through her adeptness in management and interpersonal relations.
I responded with an immediate ‘Definitely.’ There was no doubt in my mind. Though I wasn’t a professional baker, Carolyne showed me the ropes. I’ve always been enthusiastic about baking and have held it in high regard; it has always brought me joy. Our skill sets complemented each other perfectly, leading us to open our initial bakery. This venture will be celebrating twenty-one years of success come September, and we’ve never regretted taking this path.
The siblings credit Crave’s enduring success to the motivated and passionate staff members working beside them. They emphasize, “What matters most to us is ensuring that everyone who enters our establishment leaves having gained far more than when they arrived. Fortunately, we’ve been blessed with numerous team members who have stayed with us for as long as five or even ten years,” according to Willoughby.
McIntyre Jackson comments, “I believe attracting individuals who wish to collaborate with you plays a significant role in achieving success. Our enthusiasm for our work is evident.”
Many skilled “true bakers” work with us and have a passion for baking, frequently sharing their favorite recipes. One such dish featured in the cookbook is the raspberry sour cream pie. This recipe became cherished as a summertime classic after being shared with us by Aldene Atkinson, one of our most valued ex-employees. Another treasured family heirloom passed down within our team is Auntie Louise’s gingerbread recipe. As young adults, McIntyre Jackson and Willoughby recall their aunt carefully crafting impossibly thin cookies. Whenever they needed her famous gingerbread recipe for their shops, she generously provided it without hesitation.
Recipes such as these, be they their own creations or ones passed down through generations, form the core of their bakeries—and now this book. “The idea behind Crave was to bring exceptional baking to as wide an audience as possible,” explains Willoughby. “This encapsulates what our cookbook is all about.”
McIntyre Jackson states, “Our aim has always been to create the finest baked goods possible. This approach stems from cherished family recipes and a touch of affection.”
RASPBERRY CRUMB LOAF
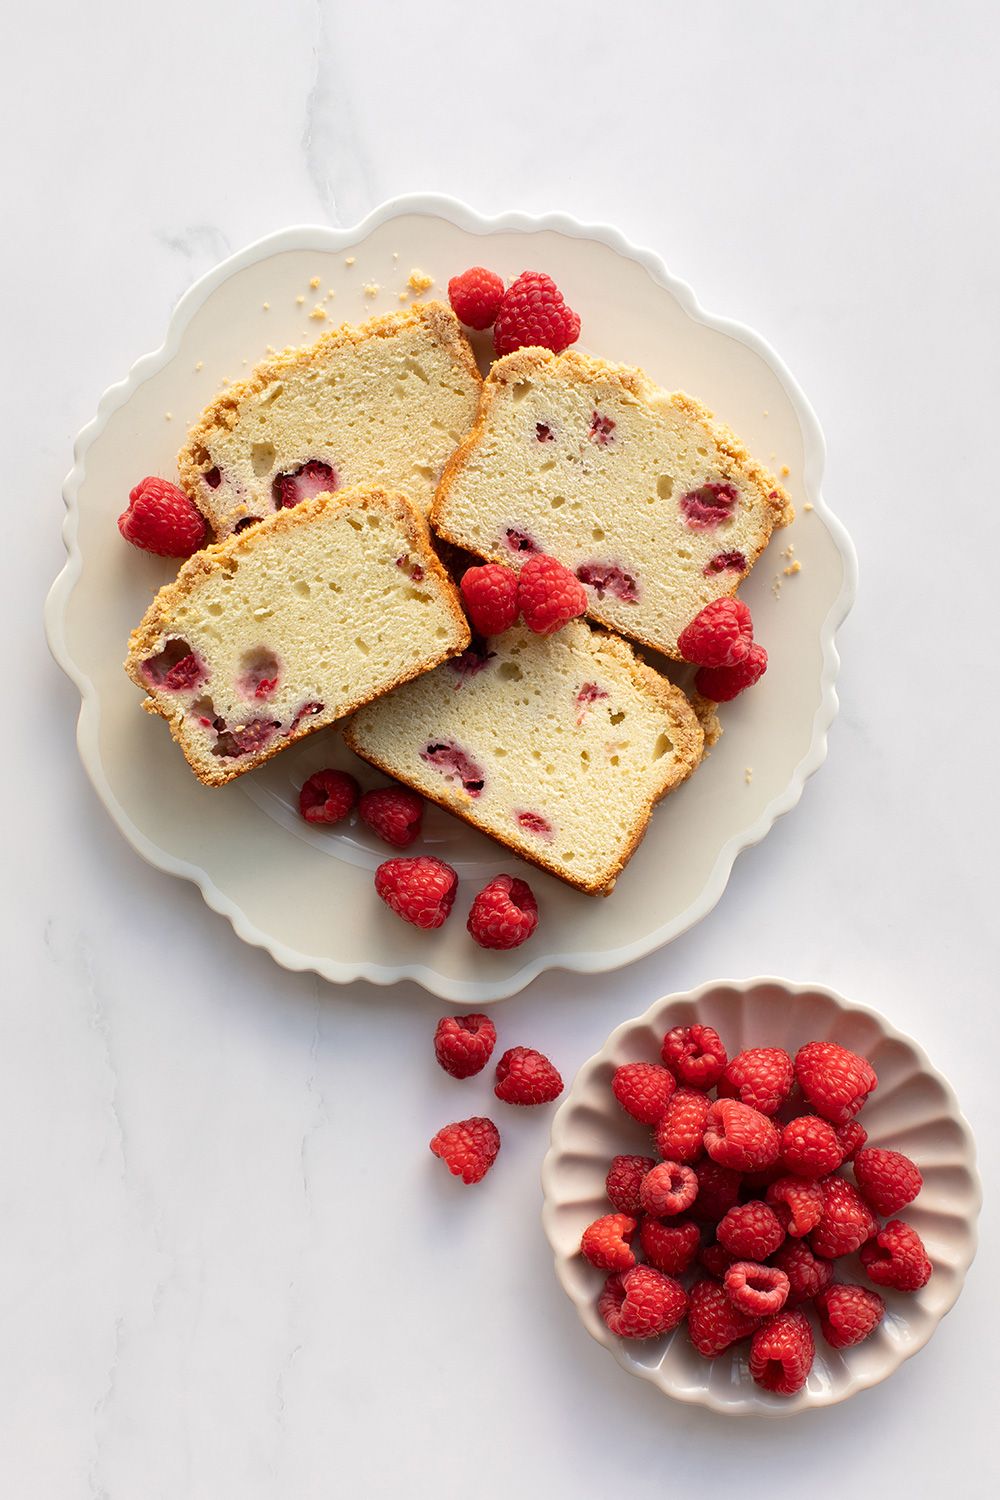
Makes:
An 8-by-5-inch loaf pan
For the brown sugar crumb topping:
3/4 cup (115 g) of all-purpose flour
1/2 cup (113 g) of soft salted butter
1/2 cup (100 g) brown sugar
For loaf:
1 1/4 cups (185 g) of all-purpose flour
1/2 tsp baking powder
1/2 tsp salt
2/3 cup (170 g) sour cream
1/2 tsp vanilla extract
3/4 cup (170 g) of salted butter
1 cup (200 grams) of white sugar
2 eggs
1 egg yolk
3/4 cup (150 g) raspberries, whether they are fresh or frozen
3/4 cup (150 g) of brown sugar for the crumb topping
Step 1
Put all the components of the brown sugar crumble topping into a medium-sized bowl.
Step 2
Using your hands or a pastry cutter, combine the ingredients until thoroughly mixed and big crumbs appear (it should clump together into a ball when pressed). Put it aside.
Step 3
Place a rack in the center of your oven and heat it up to 350F (177C). Grease an 8- by 5-inch loaf pan and cover it with parchment paper.
Step 4
Into a medium-size mixing bowl, incorporate the 1 1/4 cups of flour, baking powder, and salt. Stir these ingredients together using a whisk and then put them aside.
Step 5
In a glass measuring cup, combine the sour cream and vanilla.
Step 6
Using a stand mixer equipped with a paddle attachment, cream together the 3/4 cup butter at medium speed for approximately one minute. Slowly incorporate the granulated sugar. Pause the mixer, then use a spatula to scrape down the edges of the bowl. Resume mixing at medium speed for 5-8 minutes or until the mixture turns light and airy.
Step 7
Break the eggs and egg yolks into a small bowl. With the mixer set to low, incorporate the eggs one at a time. Pause the mixer, and use a spatula to scrape down the sides of the bowl. Resume mixing at medium-high speed for approximately one minute, or until all ingredients are thoroughly blended.
Step 8
Lower the mixer’s speed to low and incorporate half of the flour blend first. Next, introduce the sour cream and vanilla mixture, blending for about 30 seconds before adding the rest of the flour. Continue to mix for another 30 seconds until all ingredients are incorporated. Pause the process, ensure you scrape down the sides of the bowl, then resume mixing at medium-high speed for approximately one minute or until fully blended.
Step 9
Take the bowl out of the mixer and use a spatula to lightly fold the raspberries into the mixture.
Step 10
Pour the batter into the prepped loaf pan. Sprinkle the top with the brown sugar crumb mixture. Cook for 60-70 minutes or until an instant-read thermometer inserted into the center of the bread registers 200°F (93°C).
Step 11
Let the bread cool in the pan for about 10 minutes before taking it out of the pan and moving it onto a wire rack to fully chill.
Notes:
Each of our recipes requires salted butter. Should you choose to use unsalted butter instead, we suggest incrementally adding more salt to ensure the intended taste remains intact.
Store any remaining crumb topping in an airtight container in the refrigerator for up to five days or in the freezer for up to three months.
Oatmeal Milk Chocolate Toffee Cookies
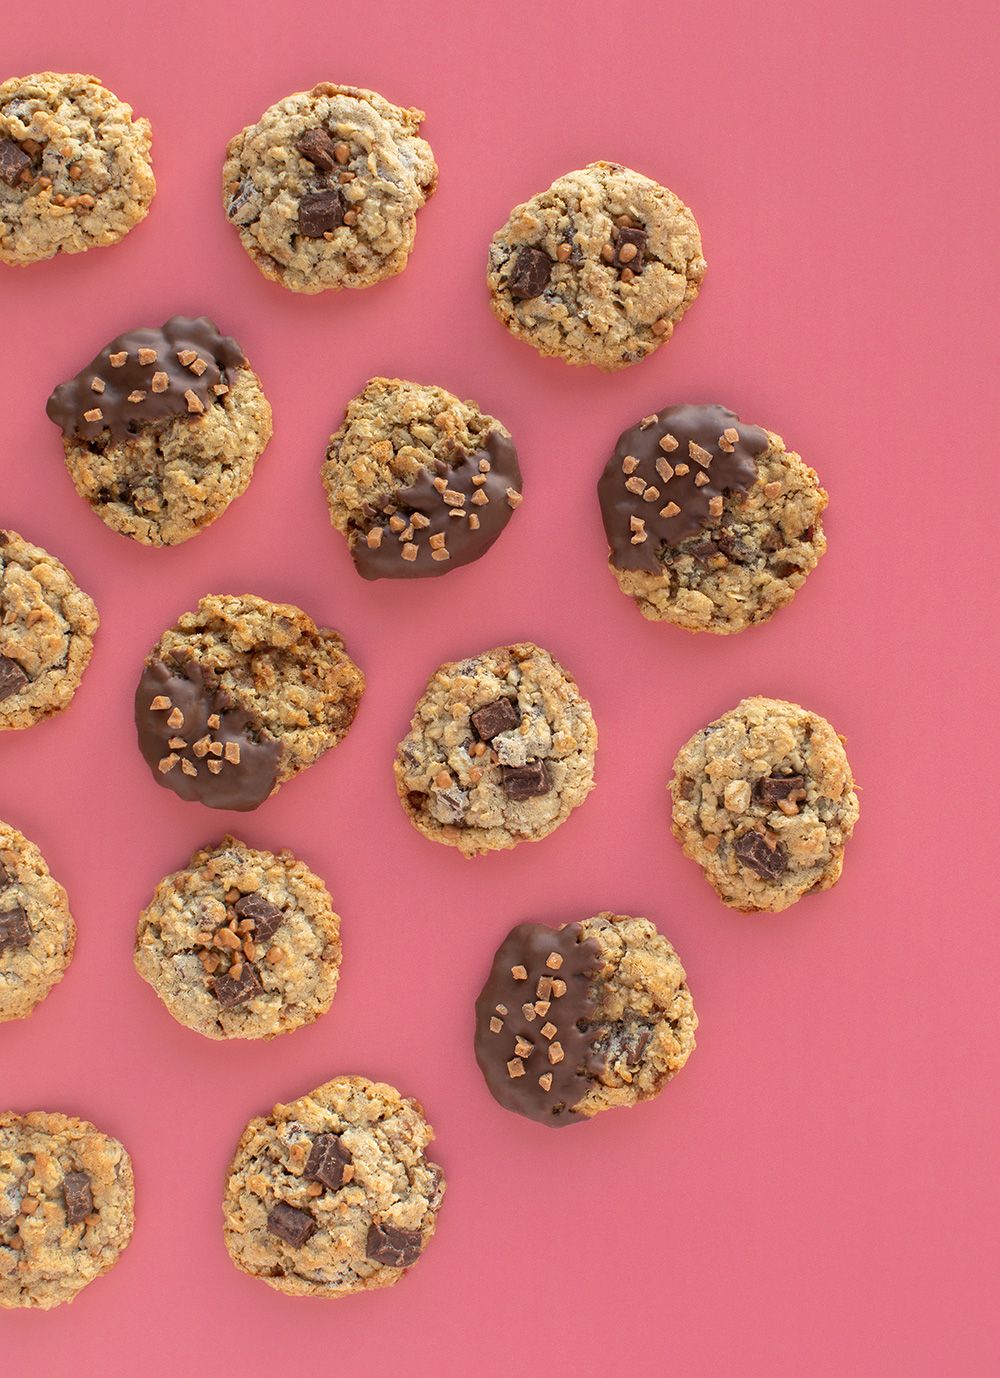
Makes:
About 50 cookies
3 1/2 cups (320 g) of large flaked oats
1 1/2 cups (225 g) of all-purpose flour
1 tsp baking soda
1/2 tsp baking powder
3/4 tsp salt
1 cup (225 g) of salted butter
3/4 cup (150 g) of white sugar
3/4 cup (150 g) of tightly packed brown sugar
2 eggs
1 tsp vanilla extract
1 3/4 cups (250 g) of milk chocolate chips
1/2 cup (85 g) of toffee pieces
1 cup (250 g) of milk chocolate coating (optional, for dipping)
Step 1
Place an oven rack in the center of your oven and set the temperature to 350°F (177°C). Cover your baking trays with parchment paper.
Step 2
Into a medium-size mixing bowl, put the oatmeal, flour, baking soda, baking powder, and salt. Mix them together with a whisk and then set the mixture aside.
Step 3
In the bowl of a stand mixer fitted with a paddle attachment, beat the butter on medium speed for about a minute. Gradually add the sugars. Stop the mixer and use a spatula to scrape the sides of the bowl. Continue mixing on medium-high speed for 5-8 minutes or until the mixture becomes pale and fluffy.
Step 4
Break the eggs into a small bowl. Set the mixer to low speed and incorporate each egg individually, followed by adding the vanilla extract. Blend for 30 seconds. Halt the mixer and remove any residue from the sides of the bowl with a spatula. Resume mixing at high speed for approximately one minute or until all ingredients are thoroughly blended.
Step 5
Stop the mixer, scrape the bowl, and continue to mix on low speed. Slowly add the oatmeal mixture and mix for about 2 minutes or until well combined. Then add the milk chocolate and toffee bits and mix until just combined.
Step 6
Utilize a cookie scoop to place the portions of batter onto the prepped baking trays, spacing them approximately 2 inches apart.
Step 7
Bake for 10-12 minutes or until golden brown.
Step 8
Let the cookies sit on the baking trays for 5 minutes to cool slightly before transferring them to a wire rack to cool entirely. Then proceed with following the steps outlined in How to Dip Cookies.
see below
).
VARIATION
Oatmeal Chocolate Chip Cookies:
In step 5, replace the milk chocolate chips and toffee bits with 2 cups (400 g) of dark chocolate chips.
HOW TO DIP COOKIES
Heat the coating chocolate either by placing a bowl over a pot of simmering water or by using a glass bowl in the microwave.
Lay out a baking tray with parchment paper. Submerge half of each cookie in the melted chocolate and transfer them onto the lined tray. Lightly slide the part not dipped across the parchment paper for an inch or two; this helps keep a circular shape and stops too much chocolate from gathering at the edges. Should you be adding sprinkles, do so right away while the chocolate is still wet to make sure they adhere properly. Wait until the chocolate hardens completely prior to enjoying or saving your treats.
Vanilla Sheet Cake with Strawberry Buttercream Icing
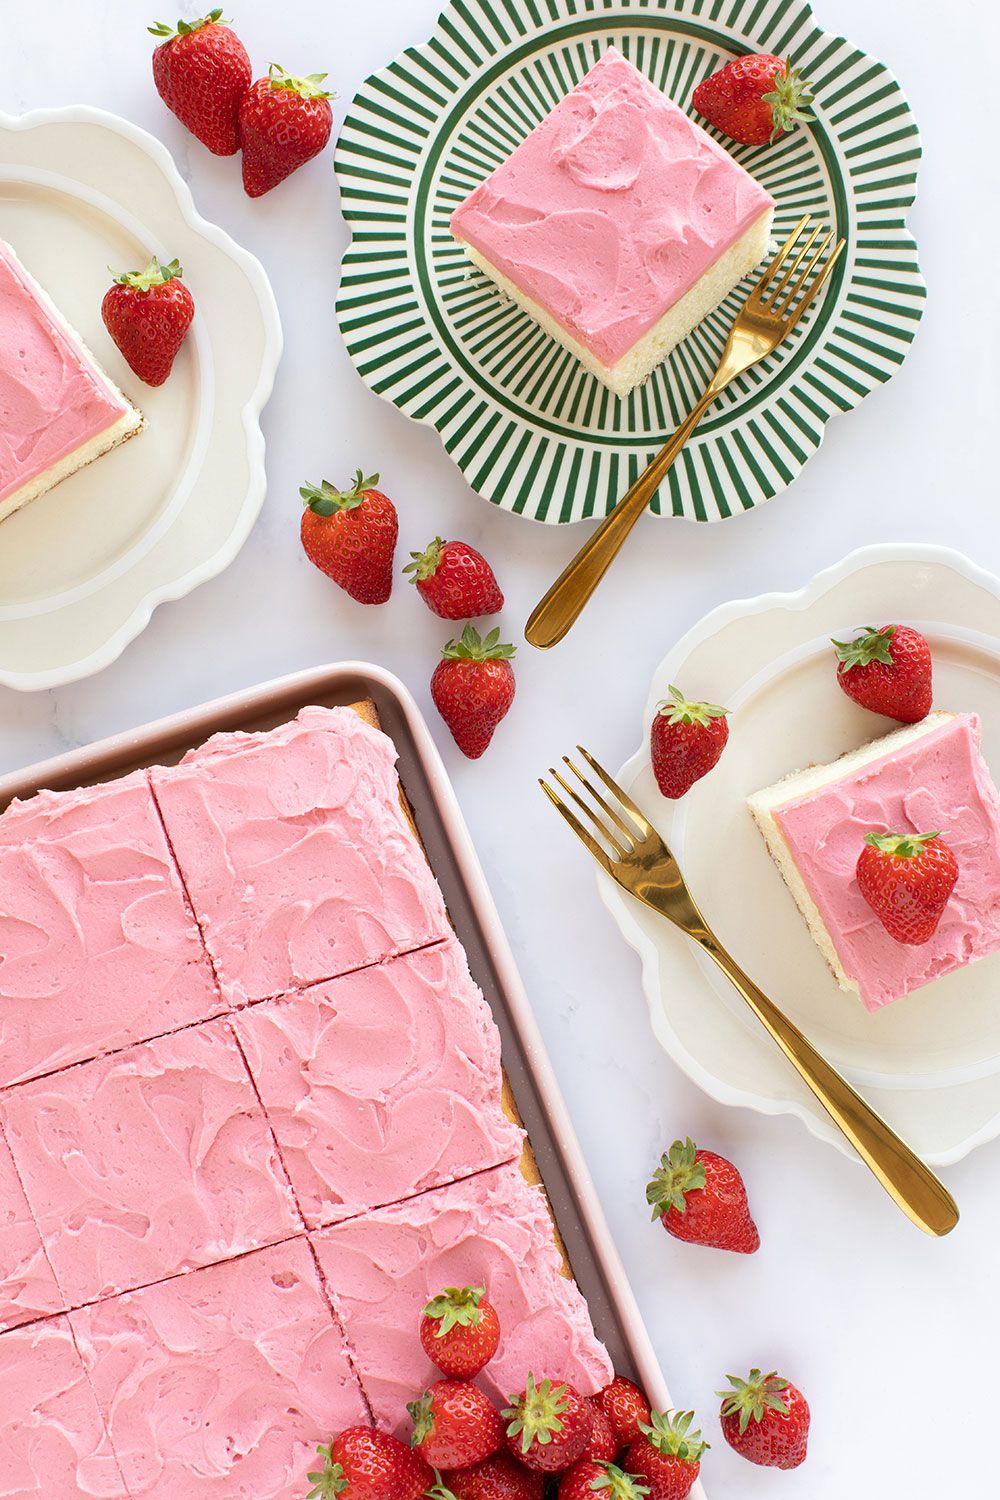
Makes:
One 9-by-13-inch cake
1 recipe for Strawberry Buttercream Frosting
recipe follows
)
2 1/4 cups (335 g) of all-purpose flour
1 tbsp baking powder
1/2 tsp salt
1/2 cup (113 g) of soft salted butter
1 1/4 cups (250 g) white sugar
2 eggs
2 tsp vanilla extract
1 cup (250 g) of milk
Step 1
Place a rack in the center of your oven and heat it up to 350F (177C). Grease a 9- by 13-inch baking dish and line the base with parchment paper.
Step 2
Into a medium-sized mixing bowl, incorporate the flour, baking powder, and salt. Mix them together and then put aside.
Step 3
Using a stand mixer equipped with a paddle attachment, cream the butter on medium speed for approximately one minute. Slowly incorporate the sugar into the mix. Pause the mixer and employ a spatula to remove any butter from the edges of the bowl. Resume blending at medium-high speed for 5-8 minutes or until the mixture turns light and airy.
Step 4
Break the eggs into a small bowl, set the mixer to low speed, and incorporate the eggs one at a time, followed by adding the vanilla extract. Blend for 30 seconds. Halt the mixer and remove any mixture from the sides of the bowl with a spatula. Resume mixing on high speed for approximately one minute or until all ingredients are thoroughly mixed together.
Step 5
Pause the mixer, clean the sides of the bowl once more, then set it to a low speed. Incorporate approximately half of the flour blend, let it merge with the ingredients, followed by adding the milk; continue mixing till fully integrated. Then introduce the rest of the flour mixture and blend on low until all components come together uniformly. Increase the mixer’s speed to medium and keep blending for an additional two minutes or until you achieve a silky-smooth batter consistency.
Step 6
Transfer the batter into the prepared pan. Bake the cake for 25-30 minutes or until a toothpick inserted into the centre comes out clean.
Step 7
Allow the cake to cool for 10 minutes. Should you wish, take the cake out of the pan and move it onto a wire rack to fully cool (approximately one hour) prior to adding the icing.
Step 8
As the cake cools down, get ready to make the strawberry buttercream frosting, and subsequently spread the icing using an offset spatula.
VARIATIONS
Cupcakes:
Line two muffin trays with cupcake liners. With a cookie scooper or regular spoon, fill the cups approximately two-thirds full using the batter you have prepared. Cook them in the oven for 14-18 minutes.
Layer Cake:
Grease two 8-inch round cake tins and line the bottoms with parchment paper. Split the mixture evenly between these prepared containers then bake them for 26-30 minutes or until an inserted skewer emerges cleanly from their centers.
STRAWBERRY BUTTERCREAM FROSTING
Makes:
About 3 1/2 cups
4 cups (500 g) powdered sugar
1/3 cup (75 g) pureed strawberries
1 tbsp whipping cream
1 drop red gel food colouring
1 add burgundy gel food coloring
1 1/4 cups (280 g) of softened salted butter
Step 1
Add the powdered sugar to a big bowl and put it aside.
Step 2
Measure out the strawberry puree, whipped cream, and food coloring into a glass measuring cup or small bowl, then set them aside.
Step 3
Using a stand mixer equipped with a paddle attachment, cream the butter on medium speed for about 2-3 minutes.
Step 4
Pause the mixer and remove any bits stuck to the side of the bowl. Resume mixing at a slow pace while steadily incorporating the powdered sugar, followed by the strawberry puree mixture. Keep the mixer running on low for approximately one minute or until everything is thoroughly blended.
Step 5
Pause the mixer, use a spatula to clean the edges of the bowl, then increase the speed to high and blend for 5 minutes. Halt the mixer once more, remove any remaining mixture from the sides of the bowl with your spatula, and continue blending at high speed for another 5-10 minutes or until the frosting becomes light and airy when touched.
Step 6
Use buttercream frosting as directed in the recipe.
Step 7
Place any leftover buttercream frosting in an airtight container and store in the fridge for up to 5 days or in the freezer for up to 3 months.
Notes:
To check if your buttercream frosting is ready, take a little bit with your spatula and lightly tap it against the edge of the bowl. If the frosting slides right off the spatula, it’s done. Should it stick to the spatula instead, keep mixing at a moderate pace until you achieve the perfect texture.
Locate strawberry purée at baking suppliers or specialized stores, or
make it yourself
.
Recipes authored by Carolyne McIntyre Jackson and Jodi Willoughby
Crave
, copyright ©2025 by Carolyne McIntyre Jackson and Jodi Willoughby. Recipes and images reprinted with permission of TouchWood Editions. touchwoodeditions.com
Our site is your go-to destination for the most recent breaking stories, inside information, in-depth articles, and thought-provoking insights. Be sure to add us to your bookmarks!
Sazua.com
And subscribe to our cookbook and recipe newsletter called “Cook This,”
here
.


